HOW TO USE INSTAGRAM TO ENHANCE YOUR PROJECT PHOTOS
A picture is worth a thousand words. While you can give the ultimate sales pitch for your landscape/hardscape business, a single photo can tell the story of your talents without speaking a single word. In general, people (a.k.a. your potential customers) are highly visual. So it’s extremely important to have a portfolio of images that can serve as tangible evidence of your professionalism and creativity. In this blog post, I’m going to explain how to use Instagram to enhance your photos and add visual splash to your project gallery.
What's Instagram?
Instagram is an online platform where you can share photos and videos (either publicly or privately), as well as through a variety of other social networking platforms like Facebook, Twitter, Tumblr, and Flickr. Similar to Facebook, you can Follow other Instagram users. By doing so, photos and/or videos posted by the users you Follow will essentially appear on your Feed. (The Feed is an ongoing stream of photos and videos that you can like, comment on, or even share with other Instagram users). Since this blog post is about taking and enhancing photos with Instagram, I’m not going to get much deeper into the other features of the app for the sake of keeping things simple. So let’s get to it!
First thing's first...
… you have to download the Instagram App to your smartphone from either the App Store (iPhone) or the Google Play Store. (Caution: Instagram is highly addictive. Once downloaded, I cannot guarantee you won’t form a secret obsession with it.) After you get yourself set up with a username and password, you’ll be ready to rock and roll.
Each time you open the Instagram App, you’ll immediately see your Feed (which is the stream of photos and videos posted by the users you Follow). To take a picture (or choose a picture you already have saved on your device), click the Camera icon (bottom center of screen). From here, you can:
- Click Library (iPhone) or Gallery to select a photo or video that is already stored on your device
- Click Photo to take a new photo
- Click Video to take a new video
Step by Step Photo Enhancing
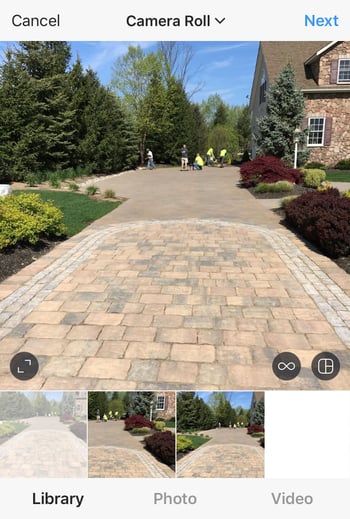
In this example, I want to enhance a photo that’s already saved on my iPhone, so I'll click Library. My end goal is to make my photo more visually interesting and use it for an online ad.
To select my photo for editing, I’m going to simply tap the small thumbnail of it below the main preview screen. After I tap the thumbnail, the picture I want to edit will now fill the preview screen. Then I’ll click Next (iPhone) or the Arrow (top right of screen).
Let the games begin! Once I’ve selected my photo, I am presented with endless editing possibilities. I can apply one of the many Filters, adjust the brightness of my photo by pressing the Sun icon, or edit my photo by pressing Edit (iPhone) or the Wrench icon.
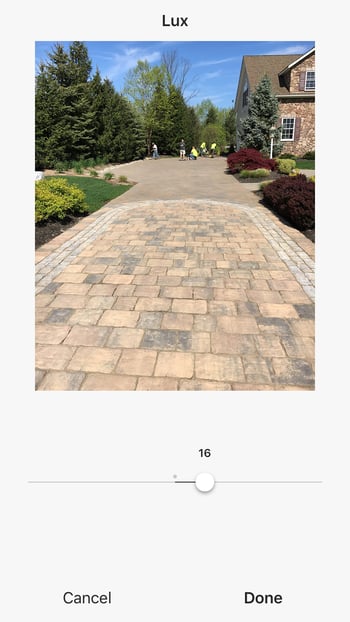
To start off, I’m going to subtly increase the brightness of my selected photo. To do this, I’ll adjust the Slider to an optimal level and then click Done (iPhone) or the Check Mark (lower right of screen).
Next, I’m going to apply a filter! (Note: There are several different Filters in Instagram. You should play around a bit to see which one makes your photo look the best!) Since I want to increase the warmth of the brown tones in my photo, I’m going to choose the Hefe filter. If I click Hefe once, Instagram will apply it 100% to my photo.
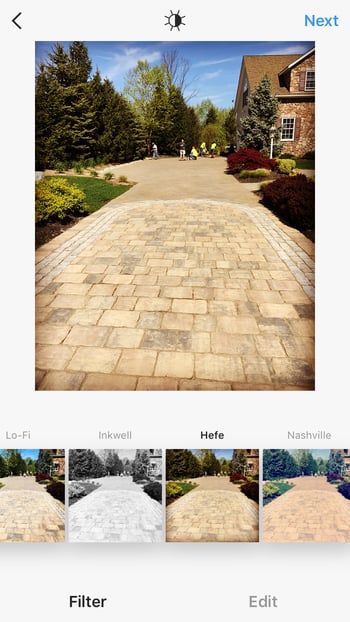
However, the enhancement appears too strong so I’d like to mellow out the intensity. To do this, I'll click Hefe again and tone it down by adjusting the Slider. In this example, I’m going to apply Hefe at 62% and then click Done (iPhone) or the Check Mark.
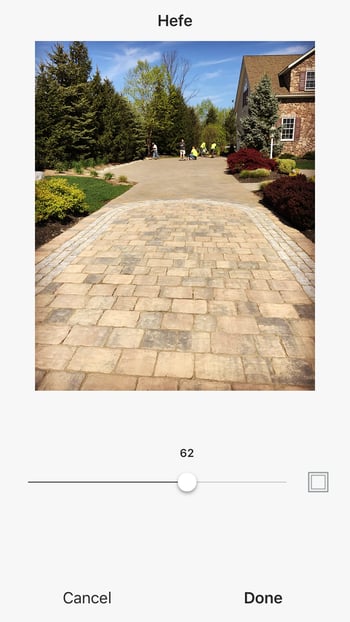
By clicking Edit (iPhone) or the Wrench icon, I can move on to make additional edits to my photo. Again, there are many different edits so play around and see what looks best. If you make an adjustment you don’t like, you can always remove it by clicking Cancel (iPhone) or X at the bottom left of the editing screen.
I’m going to make three edits to my photo:
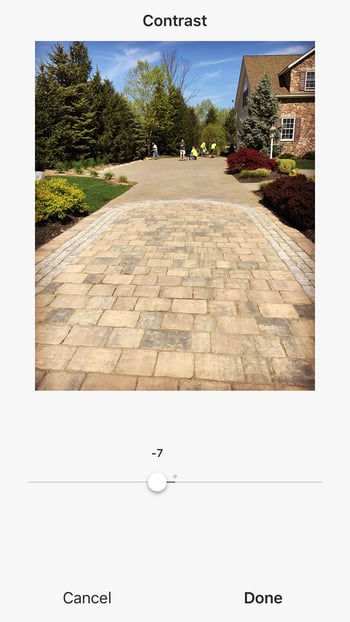
First, I’m going to decrease the Contrast in order to bring some definition back to the shrubbery surrounding the driveway.
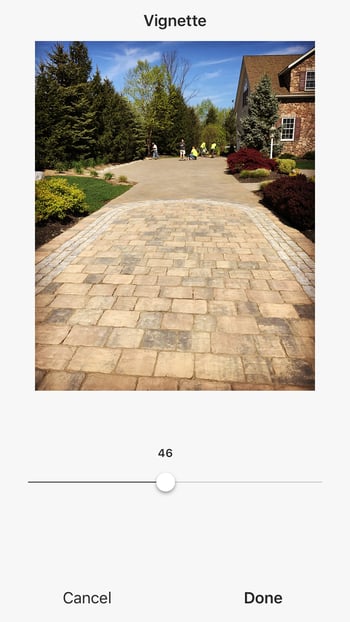
Second, I’m going to add a Vignette, which will slightly darken the frame of my photo and add a simple richness.
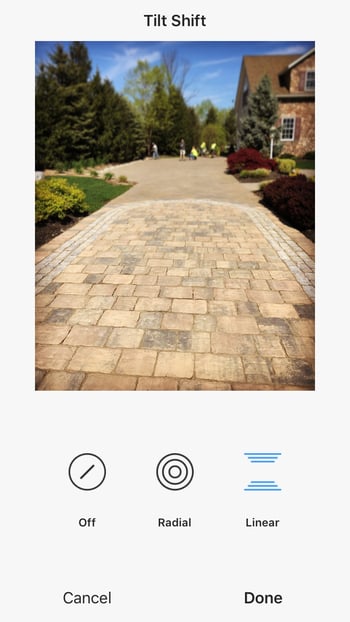
Third, I’m going to use the Tilt Shift feature to blur out the home and crew in the background, as I want the driveway to be the focus of this shot. With Tilt Shift, you can create either a Radial or Linear blur and increase or decrease the size of it by pinching or expanding the blurred area right on the photo.
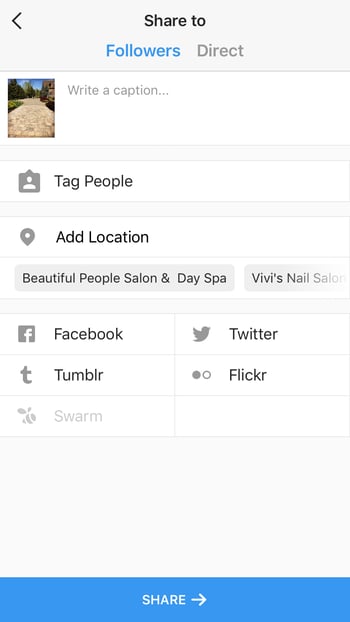
When I’m finished editing, I’ll click Next (iPhone) or the Arrow at the top right of the screen. Once I do this, I can add a caption for my photo (which will display on the Feed and/or social media), tag a nearby location, tag a person I follow, and finally click any of the additional social networks to share it on. After I click Share, my edited photo will post to the Instagram Feed and also automatically save to my Library (iPhone) or Gallery!
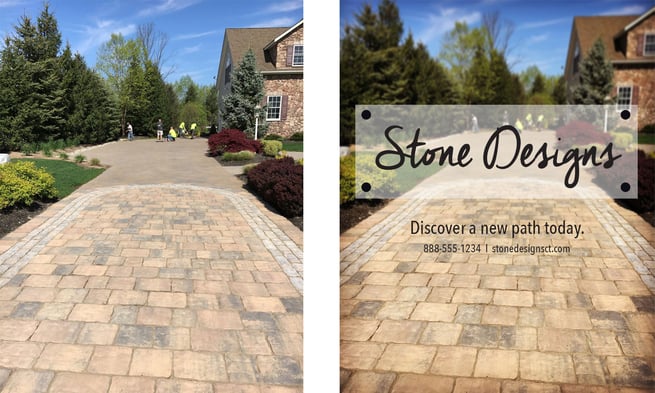
Since the photo in this example is being used for an online advertisement, I went a few extra steps and opened the edited file in PowerPoint. (To move a photo from your phone to a desktop computer or laptop, you can simply email it to yourself or save it to a file sharing site like Google Drive or DropBox.)
After opening the edited photo in PowerPoint, I simply added a transparent box and some text. And now you can see how I took my original photo (left) and made it pop using Instagram to create a visually interesting online ad (right)!
Instagram is an awesome way to bring life to your landscaping and/or hardscaping project photos! Go test out the filters and editing features using pics you already have saved on your phone. Then move on to shooting some videos and gaining familiarity with all of the different filters and editing capabilities. Like I said earlier … Instagram is highly addictive! Good luck and have fun with your photo enhancing!
To learn how to take the ultimate project photos right on your phone, check out our "7 Tips for Taking Amazing Photos on Your Phone."


