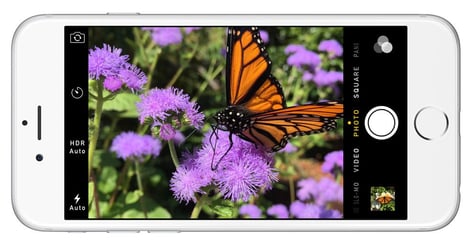
7 TIPS FOR TAKING AMAZING PHOTOS ON YOUR PHONE
It’s spring time, which is prime time for taking pictures of your impressive landscaping and hardscaping projects. The flowers are in bloom. The grass is green. And the smell of BBQ chicken is drifting in the air above the all-inclusive outdoor kitchen and patio you just installed. Do not miss the chance to photograph your work for your project portfolio! Here are seven tips on how to take amazing photos right on your phone!
1. Focus.
Focusing is important in many different scenarios … but especially photography! If you have a blurry photo, you essentially have nothing to work with. When taking pictures on your phone, focusing can prove to be a challenge. To improve the clarity of your shots, you need to be as steady as possible (so go easy on the coffee the day of your photo shoot). Be sure to look at your phone screen before snapping. On most phones, you can tap an area of your image to bring it into focus. If you’re using an iPhone, you can use the volume controls to snap a picture without having to press the button that’s on the screen. This can be a very useful technique when you’re trying to keep a steady hand.

2. Be sure there is good lighting.
Equally as important as focus is lighting! Trying to capture your landscaping or hardscaping masterpiece in poor lighting will not do the project justice. Schedule your photo shoot when the weather is optimal. The sun will create a variety of shadows throughout the day so consider a time when your project will be put in the best light. (Note: shadows can also become a visually interesting part of the scene and play nicely with other elements; so don’t avoid them completely!)

3. Keep it simple.
We get it. Sometimes there is just so much awesomeness in what you’ve created that you want to encompass it all in one photo. However, too many visual elements in a single photo can actually take away from the beauty of the shot. Keep the scene simple. First, stage the area by removing any unnecessary decor and/or clutter. Focus on a particular design element and make it the star of the photo. In this example, the sun spotlights the beautiful garden bed and the home is kept in the shadows … which draws the eye to the main subject of the photo. The yard is clean and uncluttered so there is nothing to distract one’s attention away from the garden bed. Keep it simple!

4. Shoot from an interesting angle.
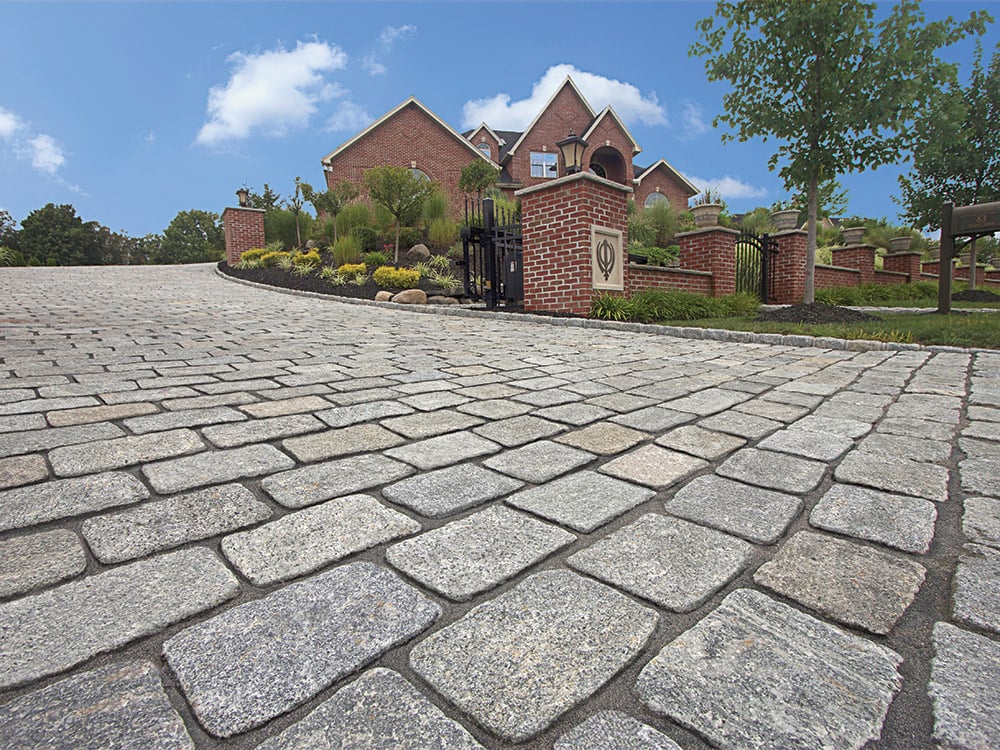
You can dramatically change the entire vibe of a photo just by shooting at an interesting angle. Hold your phone at different vantage points and from varying heights to see how the scene transforms with each perspective. You will be utterly amazed. In this picture, the photographer shot low to the ground, drawing all the attention to the driveway. At this angle, the texture of the pavers is accentuated, as well as the grittiness of the sand in the joints.

5. Capture reflections.
If there is water in your shot, try and capture an interesting reflection! A reflection can create a calm and rippled snapshot of the surrounding scenery. It’s a perfect way to enhance the visual appeal of your picture. See how the artistic architecture surrounding this outdoor pond is subtly reflected in the calm water below.

6. Follow the Rule of Thirds.
Time for a very quick lesson in Photography: 101 … the Rule of Thirds! Here’s how it works. Imagine breaking an image up into nine equal parts (horizontally and vertically, using four grid lines). The principle behind the Rule of Thirds states that if you position your important elements on any one of these grid lines, your photo will become more balanced and compositionally more interesting. The flower in this photo is positioned where the grid lines intersect in the upper right portion of the image. To utilize this principle when taking pictures on your phone, be sure to enable the grid on your phone’s camera (on an iPhone, this feature can be turned on in: Settings >> Photos & Camera >> Grid).

7. Use photo editing apps.
Last but not least, there are a number of amazing editing apps available to help take your photos to the next level! Basic techniques that used to take hours to accomplish in PhotoShop can now be applied to your photos with the click of a button. Instagram, VSCO, and Whitagram are a few that we’d recommend experimenting with.
If you’re completely new to the world of photo editing apps, check out our blog post on “How to Use Instagram to Enhance Your Project Photos,” before getting started.


