WATERING POLYMERIC SAND
If you’re using polymeric sand in your outdoor patio, pool, or walkway project, you’ll want to learn the best techniques for watering. It’s the one step of the installation process that can lead to major problems down the road if not performed properly. To ensure you end your paver project on a high note, check out these tips and tricks for watering Alliance's G2 Polymeric Sand.
This post was updated 4/2024 to reflect current product information and installation guidelines.
- First off, it’s important to make sure you have an adjustable nozzle on your hose. You’ll want to use the shower setting when it’s time to water your polymeric sand.
- If your surface has a slope, start at the lower end and work your way up.
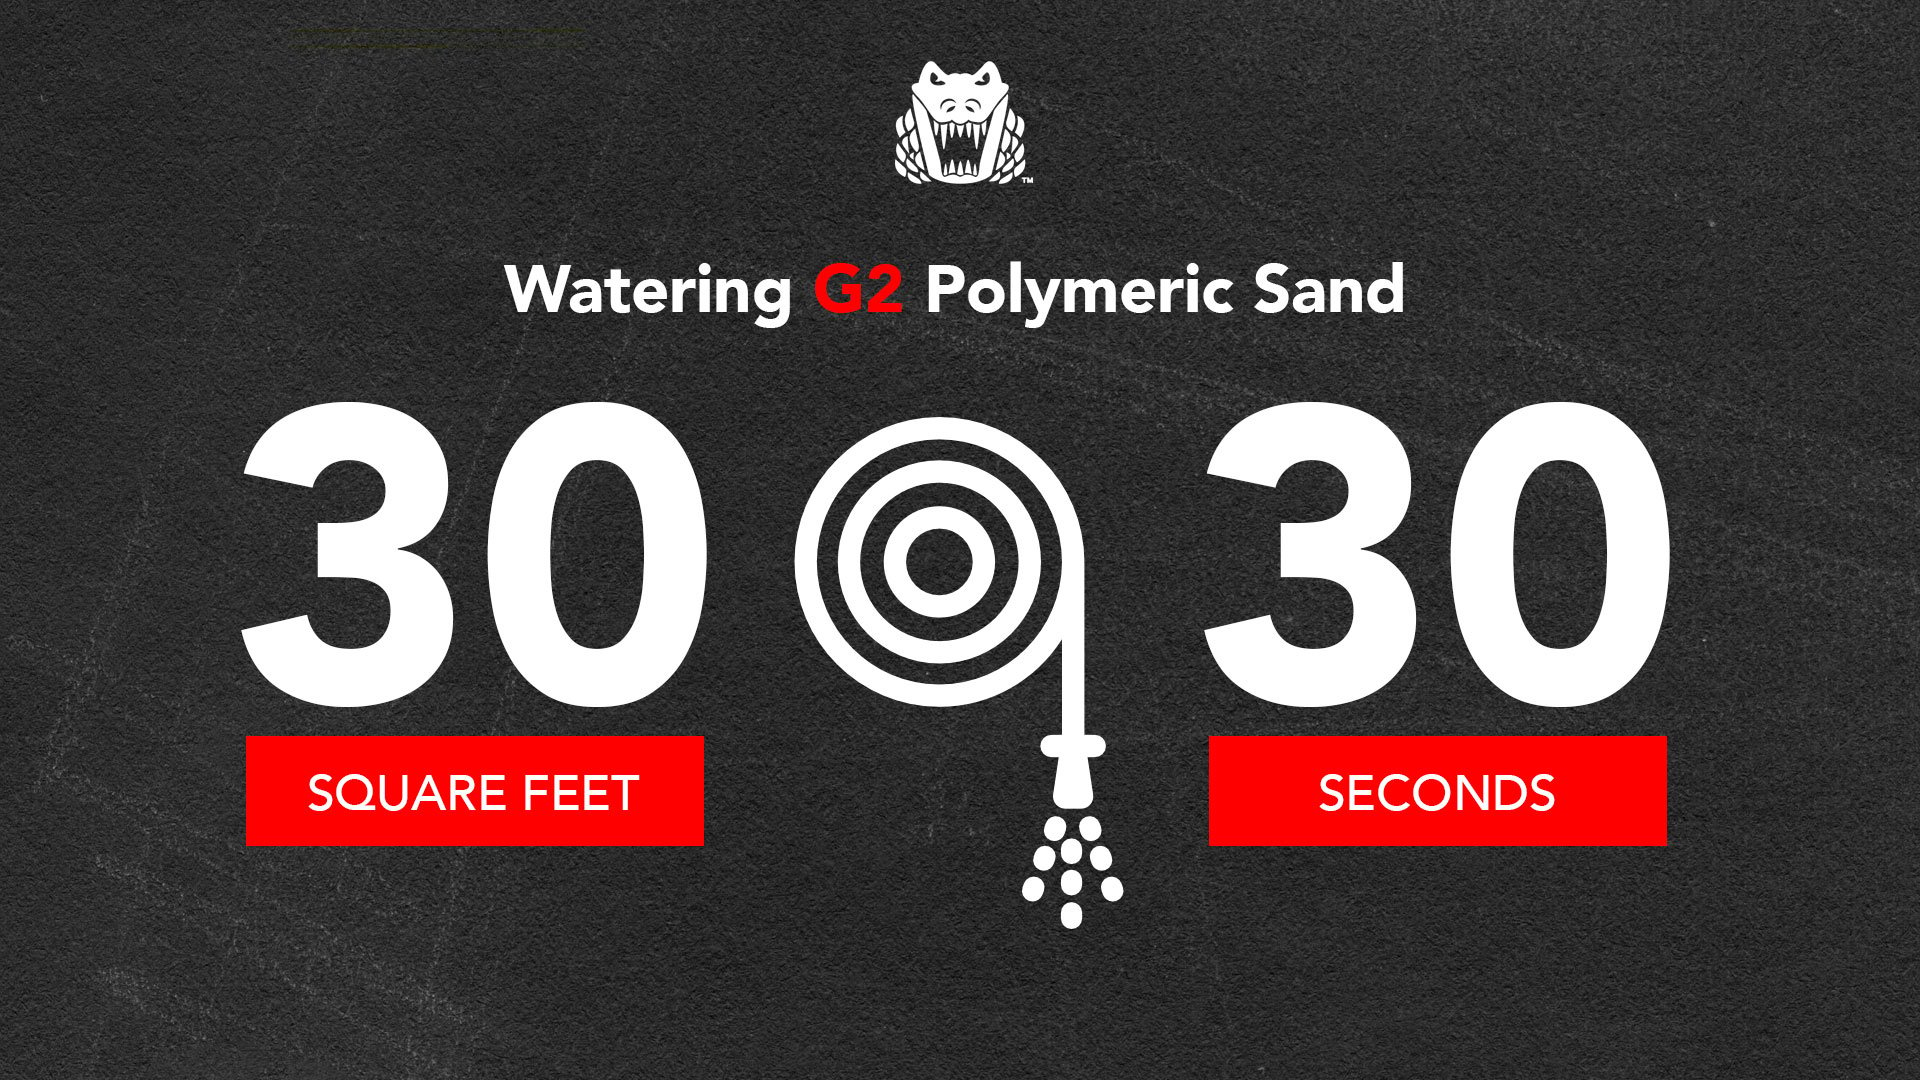
- Concentrate on smaller areas at a time (a good rule of thumb is watering 30 sq. ft. sections for 30 seconds at a time).
- Never allow the surface to dry out during the watering process. On a hot day, you’ll want to work quickly to prevent premature drying.
- Keep the sand in the joints. Using too much pressure can cause the polymeric sand to wash out of the joints. If this happens, the product cannot perform as intended. The joints need to remain filled with sand 1/8 inch below the paver edge or chamfer.
Follow these simple watering techniques and wrap up your polymeric sand project with confidence!

Looking for more advice on poly sand installation? Take our free Polymeric Sand For Dummies training course!


