PART 4 - BREAKING DOWN A POLYMERIC SAND JOB: WATER
Paver joint sand technology has come a long way. Did you know that installing Alliance’s G2 polymeric sands can be done in as little as four simple steps? In this mini blog series, we’re going to break down a poly sand job and show you how quick and easy it can be done. Today we’re unlocking the last step of the process: watering. We see a lot of mistakes made during this step so pay close attention as we detail how to avoid them!
STEP 4: WATER
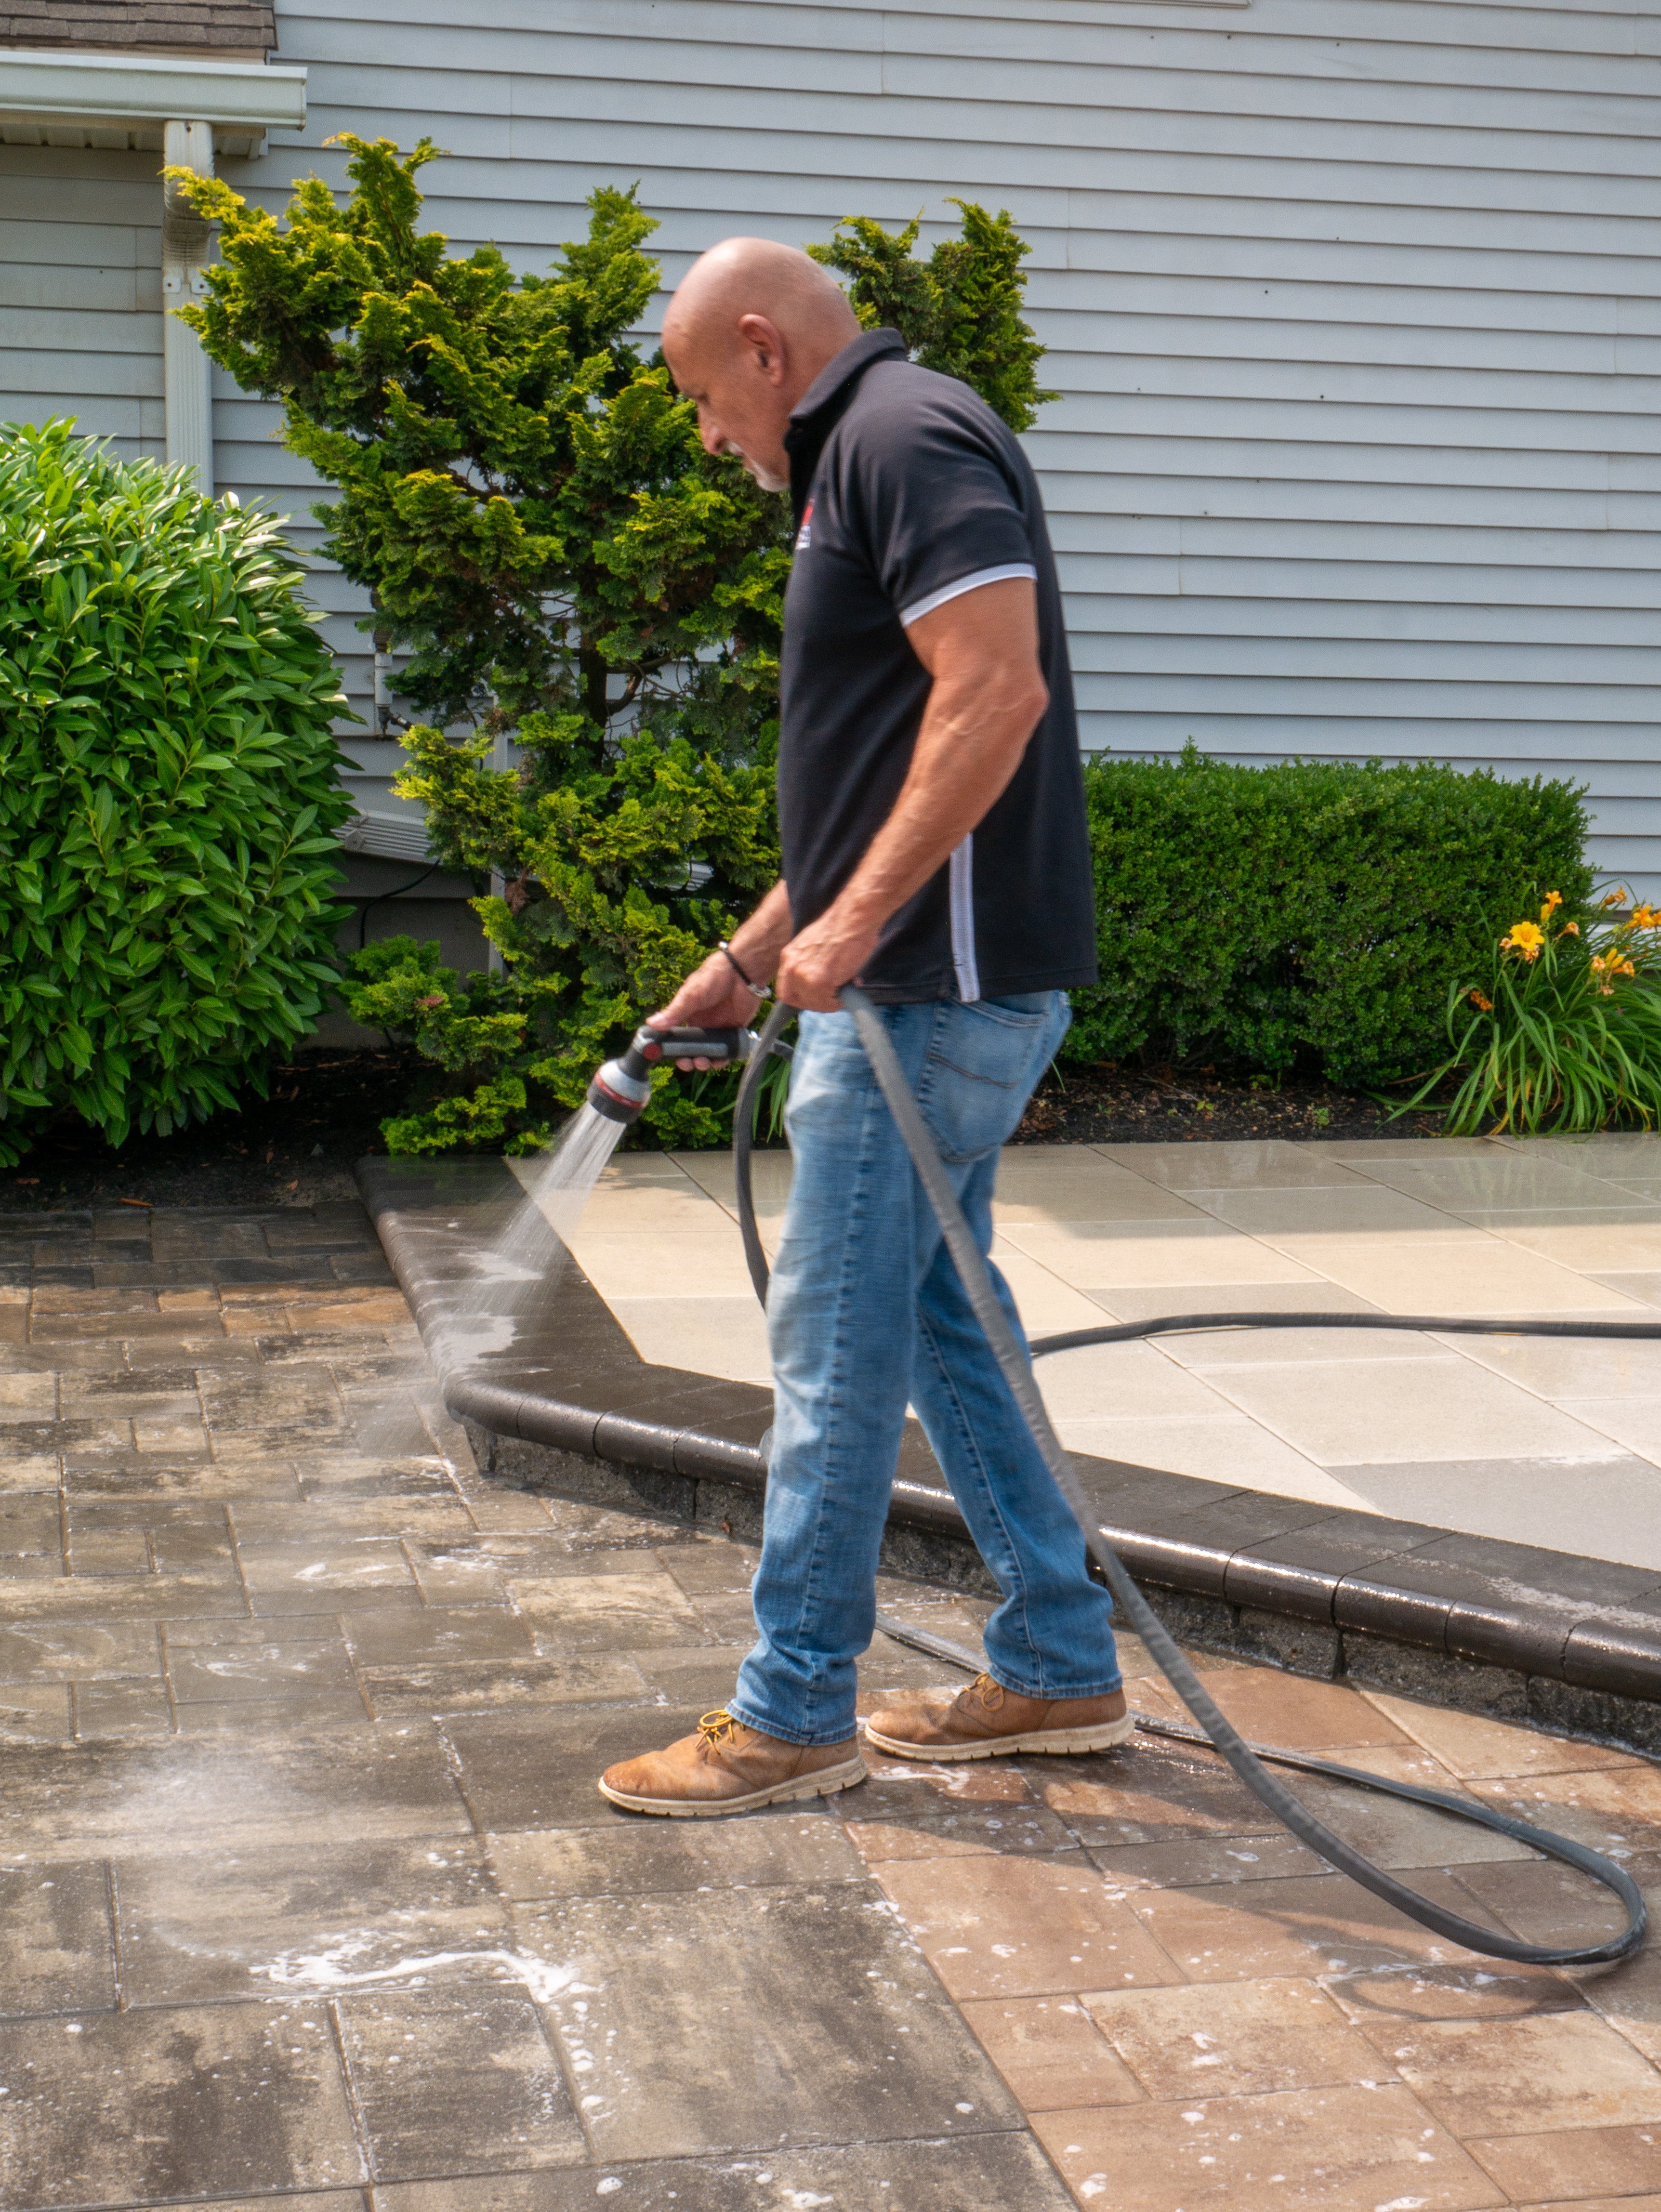
Misting used to be a common technique when watering polymeric sand. However, with Alliance’s G2 line of products, this is no longer the case. In fact, you really can’t use enough water when it comes to G2. A light watering will activate a small amount of the sand but won’t penetrate down deep enough to activate the entire joint. When this happens, a thin skin will be formed where the water did penetrate but all the sand beneath it will remain completely dry … and not activated at all!
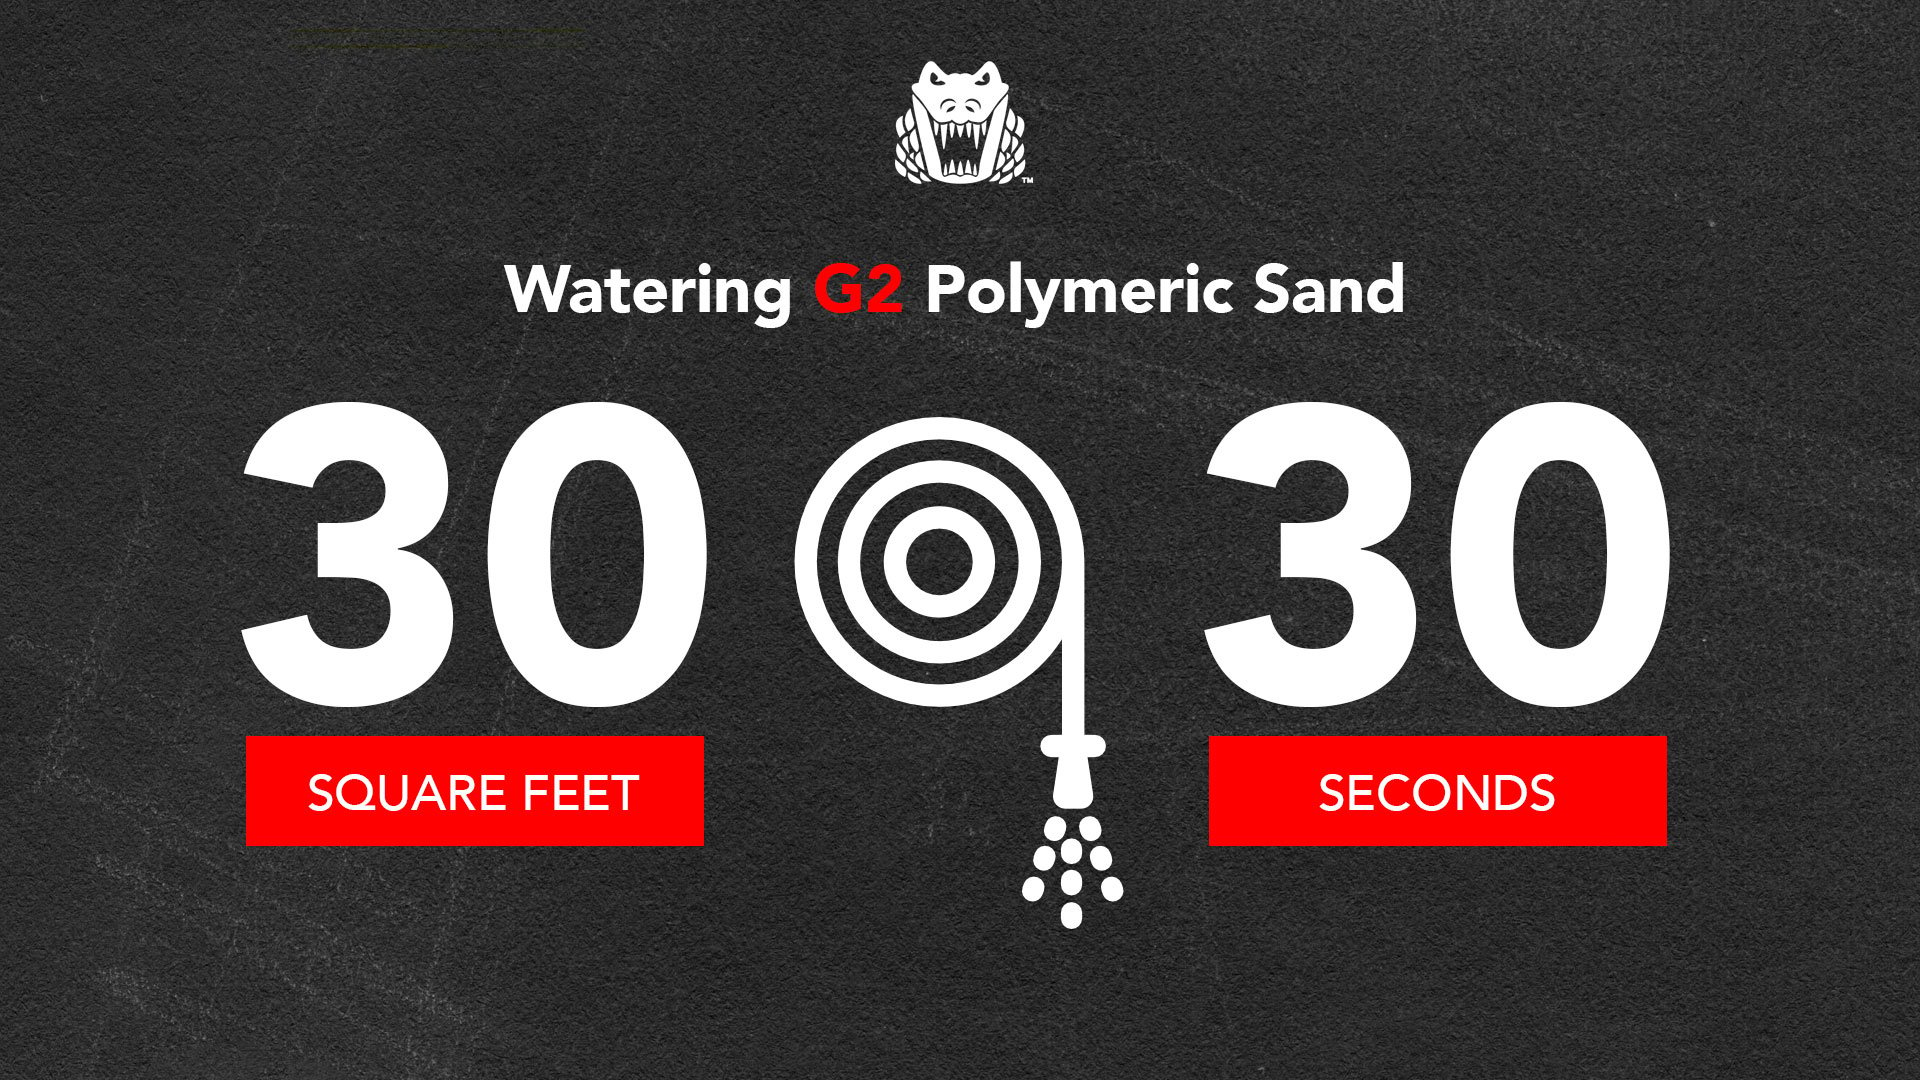
The key is getting enough water into the joint and fast enough. When watering, we recommend working in 30 square foot sections for 30 seconds at a time. You’ll want to use the Shower setting and water until the joint actually rejects any more water. (On projects with wider joints, this may take 60 seconds or more.) While this might seem like a lot of water, it’s truly what the product needs to properly activate.
Note: Be sure to avoid using too much pressure when watering as this could cause the sand to wash out of the joints. Remember, the sand height should be ⅛” below the paver edge or chamfer.
All the water needs to get into the joint in one shot, and be completely activated, before moving to the next section. You’ll want to use extra caution and speed in hot, dry weather. If your project is sloped, you should work your way up from the bottom to ensure the lower areas of the project don’t prematurely start to activate when hit with run-off water.
That completes the full breakdown of our 4-step G2 polymeric sand installation process! For more content like this, be sure to subscribe to the Alliance Gator Hardscape Education Channel on YouTube! We’re adding tutorials and on-demand training content all the time so don’t miss out.
For more installation tips and hardscape product knowledge, be sure to visit the Alliance Gator Education channel on YouTube!