PART 3 - BREAKING DOWN A POLYMERIC SAND JOB: SWEEP
Paver joint sand technology has come a long way. Did you know that installing Alliance’s G2 polymeric sands can be done in as little as four simple steps? In this mini blog series, we’re going to break down a poly sand job and show you how quick and easy it can be done. Today we’ll discuss Step 3, which involves sweeping off any excess sand from your paved surface.
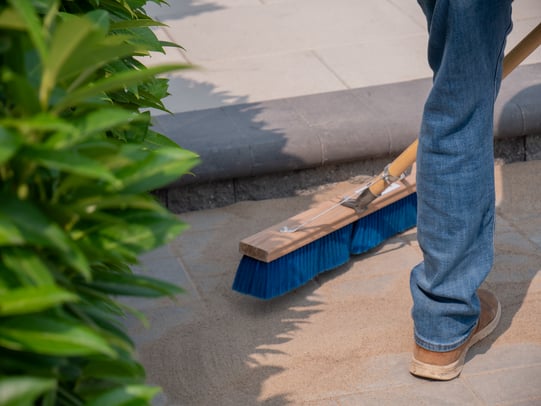
STEP 3: SWEEP
If you’ve been following along, we’re halfway through the breakdown of our 4-step G2 polymeric sand installation process. Now we’re starting the third step of sweeping any excess sand off the top of the pavers.
Why is this step important? Because any sand that gets left on top of the pavers will cure there after the final step of watering. To clean excess sand off the pavers, you can use a hard-bristle broom followed by a soft-bristle broom. A blower can be used as well. As you work your way across the paved surface, be sure an optimal sand height is maintained within the joints. Remember, the compacted joint sand should be ⅛” below the chamfer of the paver.
One more step to go! Tomorrow we’ll cover the fourth and final step of our G2 installation process: Watering. It’s a critical step and one where we see a lot of mistakes made so be sure not to miss the post!
For more installation tips and hardscape product knowledge, be sure to visit the Alliance Gator Education channel on YouTube!