PART 1 - BREAKING DOWN A POLYMERIC SAND JOB: SPREAD
Paver joint sand technology has come a long way. Did you know that installing Alliance’s G2 polymeric sands can be done in as little as four simple steps? In this mini blog series, we’re going to break down a poly sand job and show you how quick and easy it can be done. Today we’ll discuss Step 1 of the installation process: spreading out the sand.
STEP 1: SPREAD
First thing’s first: Make sure you have enough sand before you start pouring! The quantity of sand you’ll need depends on the shape and size of the concrete pavers as well as the width of the joints. If you’re using G2 Maxx in Beige, Ivory, or Slate Grey, one 50 lb. bag will cover 65-85 square feet if the joints are narrow (1/8″ to 3/8″) and 22-42 square feet for wider joints (3/4″ to 1-1/4″). These values will be slightly less if you’re using G2 Maxx in Black Diamond. You can use our online Poly Sand Sand Calculator to enter the exact specs for your job and figure out approximately how many bags you’ll need.
Once you’ve determined you have enough product, you’ll next want to verify that the outdoor conditions are optimal for installation. G2 Polymeric Sand should be installed in temperatures above 32°F with dry conditions. A minimum of 15 minutes of dry weather is required after activating the sand with water in a traditional application. (Overlay applications will require 24 hours of dry weather post activation.)

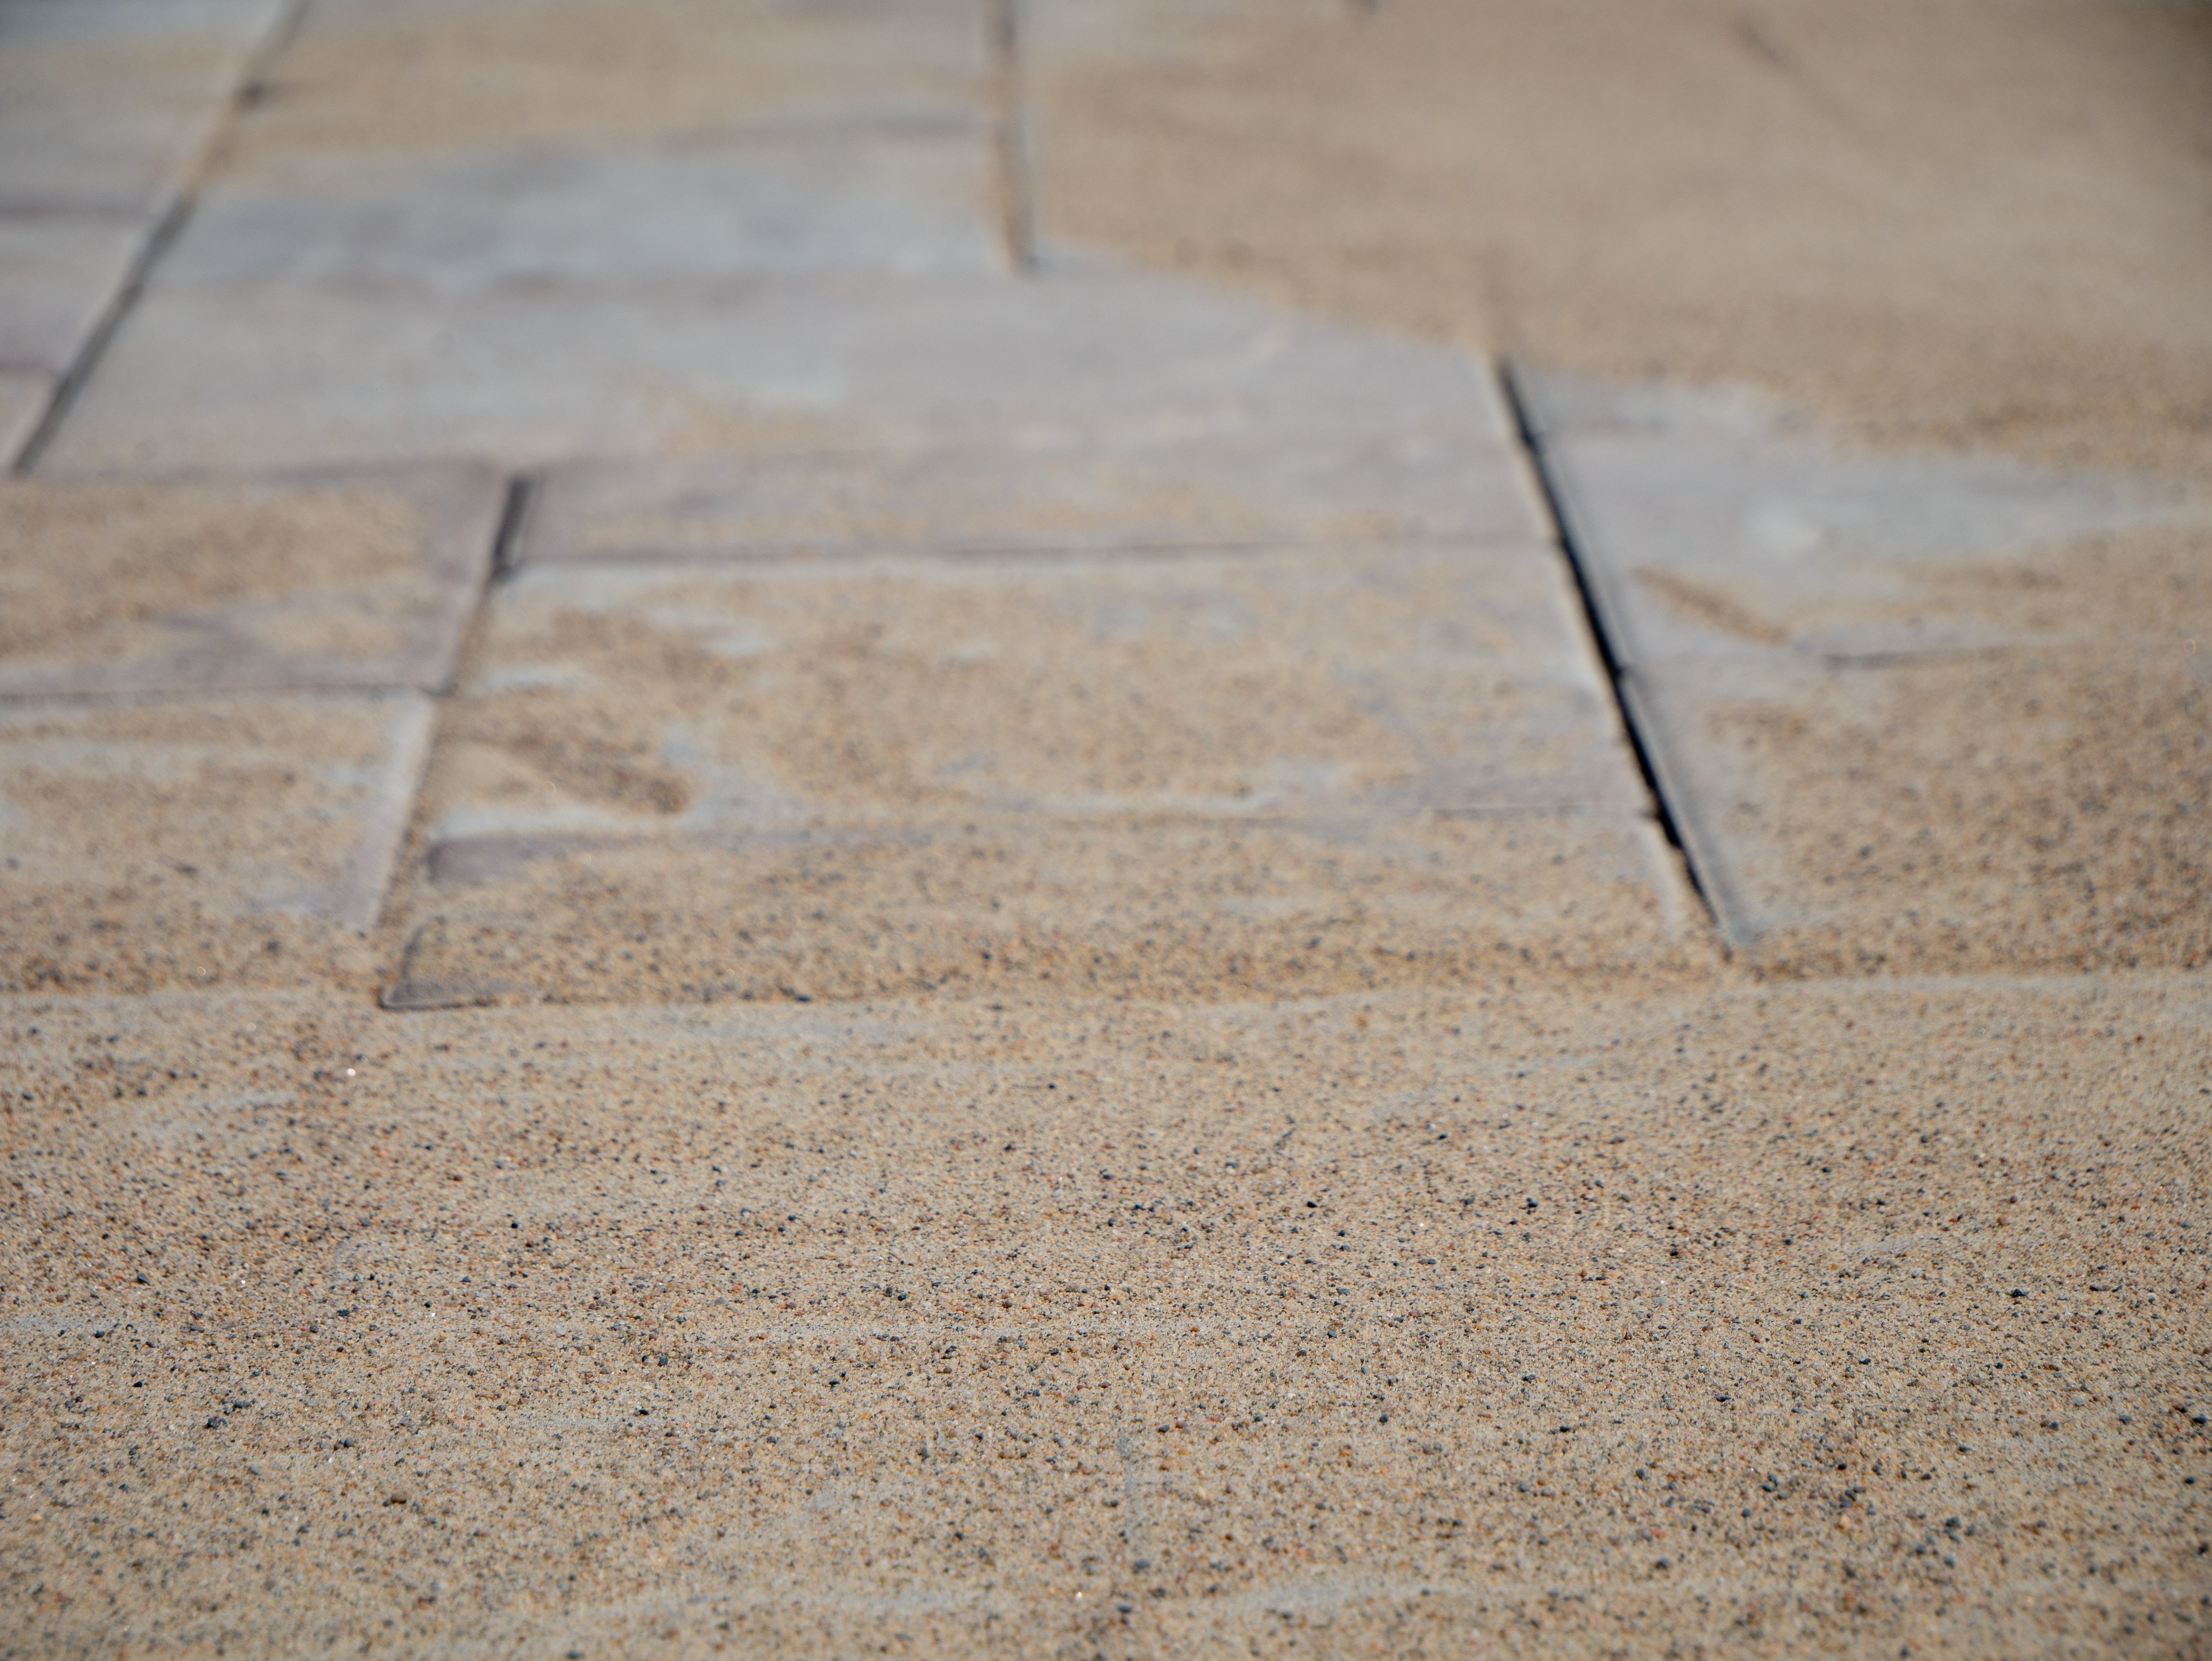
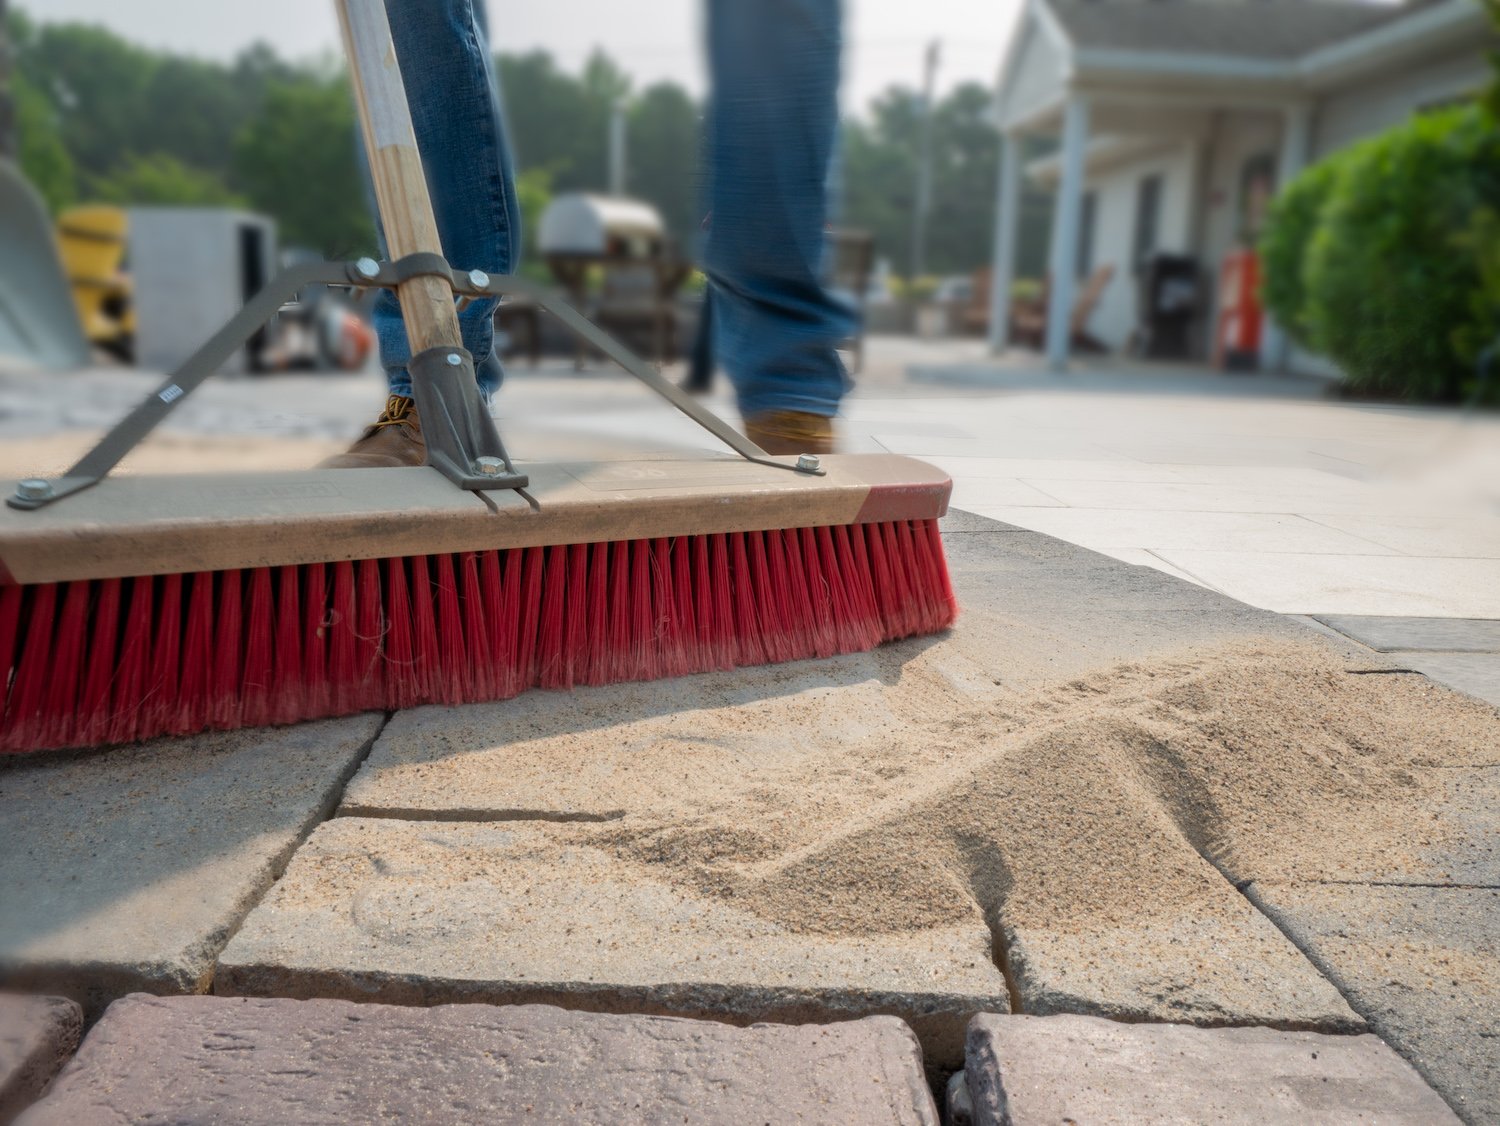
When you’re ready to start spreading, pour each bag of sand evenly across its coverage area within the project. You can then spread it around using a hard-bristle broom. Make sure the sand completely fills the joints. (Note: There shouldn't be any other material besides the new polymeric sand inside the joints. If you’re replacing the joint material on an existing project, the old joint material needs to be completely removed prior to installing the new sand.) As you’re spreading, be sure to leave a layer of the G2 sand on the surface of the pavers. This will help aid more sand into the joints during the vibrating and consolidating process.

And Step 1 is complete! Join in tomorrow as we go into detail on the second step of the poly sand installation process.
For more installation tips and hardscape product knowledge, be sure to visit the Alliance Gator Education channel on YouTube!

