5 TIPS FOR PROPERLY ACTIVATING G2 INTELLIGENT POLYMERIC SAND WITH WATER
One of the primary benefits of using G2 Intelligent Polymeric Sand is that only one watering is required. In this blog post, we’ll share five tips on how to properly activate the sand during this fast and easy process.
Photo courtesy of Unilock. G2 product not depicted here.

No matter what kind of polymeric sand you’re using, you’ll want to practice the best techniques for watering. It’s a critical step in the installation process and one that can lead to major problems down the road if not performed properly.
Here’s the good news: if you’re using G2 Intelligent Polymeric Sand, only ONE watering is required! And since you’ve only got one chance to get it right, be sure to follow these five tips for properly activating the sand with water:
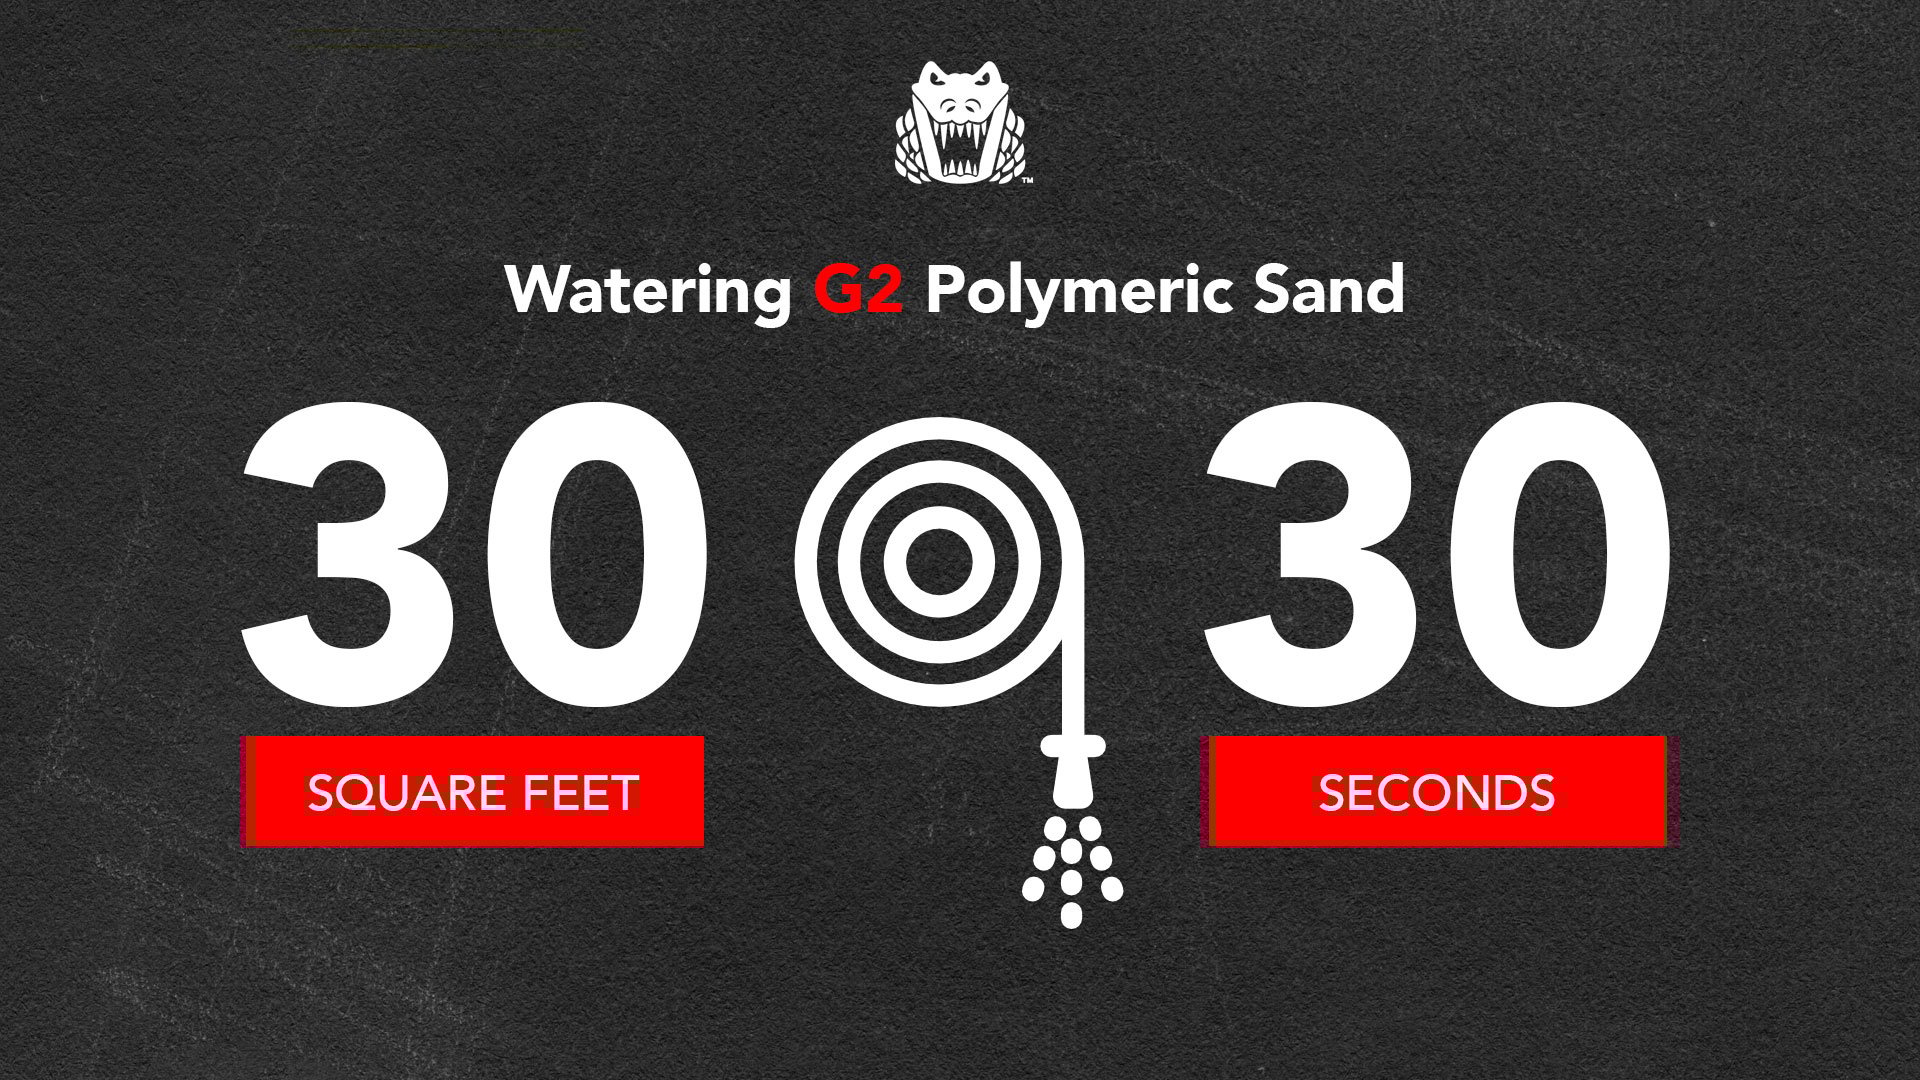
1. Work in small sections.
This is a recommendation we make for watering any of our polymeric sands. Work in manageable sections of about 30 sq. ft. at a time (depending on the temperature). The idea is to keep the entire surface wet during the watering phase and allow for proper water penetration before the polymeric sand begins to repel moisture.
2. Keep the sand in the joints.
Using too much water or too much pressure can cause the polymeric sand to wash out of the joints. Obviously if this happens, the product cannot perform as intended. The joints need to remain filled with sand 1/8 inch below the paver edge or chamfer.
3. Keep the surface wet.
This ties back into the first recommendation we made for working in small sections. You never want the surface to dry out until the water activation phase is complete. On a hot day, you may need to move through the watering phase more quickly in order to prevent premature drying.
4. Start at the lowest point.
Watering must be started at the lowest point of the surface. Starting at a high point can cause the water to flow downwards and create a pool. Always work your way up to ensure all areas of the surface are being watered (and essentially activated) evenly.
5. Use the Shower setting.
Make sure you have an adjustable nozzle on your hose. You’ll want to use the Shower setting when it’s time to water in your G2 Intelligent Polymeric Sand. Showering will help to keep the sand in the joints as well as evenly activate it with the right amount of water.
The single watering step when using G2 Intelligent Polymeric Sand will dramatically help save time (and money) on your upcoming hardscape projects. Be sure to do it right by following these five tips!